
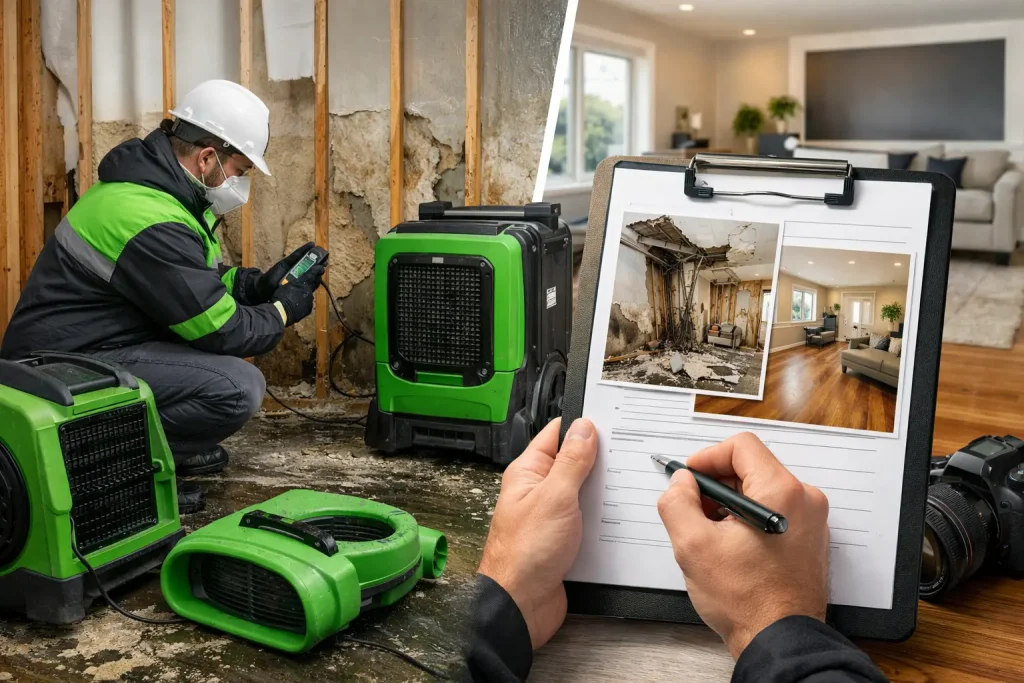
A burst pipe, roof leak, kitchen fire, or wind-driven storm can turn a normal day into a fast-moving recovery project. A thorough property damage documentation guide gives you a practical way to preserve the facts while protecting the building, supporting the insurance claim process, and preparing for repairs.
Documentation is not busywork. It creates a record of what happened, where damage occurred, what was affected, and what actions were necessary to prevent further loss. The strongest files are organized early, updated as conditions change, and supported by photos, measurements, invoices, and professional findings.
Start With Safety and Damage Control
Before taking photos, make sure the property is safe to enter. Do not enter an area with suspected structural instability, standing water near electrical sources, active fire damage, exposed wiring, sewage contamination, or potential asbestos-containing materials. Contact qualified emergency professionals when a hazard is present.
Once the area is safe, take reasonable steps to prevent additional damage. That may mean shutting off the water supply, placing a tarp over an active roof opening, moving dry belongings away from a leak, or arranging emergency water extraction. Keep records of these actions. Most insurance policies require policyholders to protect the property from further damage, but the policy language and claim circumstances control what is covered.
Avoid discarding damaged materials before they have been photographed and, when practical, inspected. If something must be removed for health, safety, or mitigation reasons, photograph it first and retain a sample or clear record when possible. Emergency mitigation should not wait for every claim question to be answered, especially when moisture can continue spreading into walls, floors, insulation, or contents.
Build Your Property Damage Documentation File
Create one digital folder for the loss event and name it with the property address and date of loss. Save photos, videos, claim communications, invoices, inspection reports, and receipts there as they are created. A simple chronological record is often more useful than trying to recreate events weeks later.
Record the basic loss details
Write down the date and time you discovered the damage, the suspected cause, and the areas affected. Be specific without guessing beyond the available facts. For example, “water was observed coming from the second-floor supply line at approximately 7:15 a.m.” is more useful than “the house flooded overnight.”
Include the date you reported the claim, the claim number, the carrier’s contact information, and the names of any adjusters, mitigation technicians, plumbers, roofers, or inspectors involved. After phone calls, make a short note of who you spoke with, when the call occurred, and any next steps discussed.
For commercial properties, the record should also identify affected suites, common areas, tenant spaces, equipment rooms, and business operations. Property managers should document notices to tenants and any temporary access restrictions, as these details can help establish the sequence of events.
Photograph the scene before cleanup
Take wide photos first. Stand back and capture each affected room from multiple corners, including ceilings, walls, floors, doors, windows, and nearby contents. Then take medium-range and close-up images of stains, wet materials, damaged finishes, broken components, and visible source areas.
Use a consistent approach: photograph the room entrance or identifying feature, then move around the space in the same direction. This helps someone who was not present understand where each image was taken. Include a ruler or tape measure in close-up images when documenting the size of a crack, opening, stain, or missing section of material.
Video can add useful context, particularly for widespread water intrusion, storm damage, smoke residue, or damage that spans multiple rooms. Narrate only what you can directly observe. A slow walkthrough is generally more useful than a rushed video with broad assumptions about cause or scope.
Do not edit, filter, crop, or annotate original images. Keep originals intact and save labeled copies if you need to mark locations or explain what is shown. Many phones automatically retain date and time information, so back up files promptly.
Document hidden conditions professionally
Visible damage is only part of many losses. Water can migrate beneath flooring, behind baseboards, into wall cavities, and through ceiling assemblies. Smoke can travel through HVAC pathways and settle on surfaces far from the fire. A roof opening may allow moisture into insulation or framing before staining becomes apparent.
Professional documentation can clarify these conditions. Moisture mapping, thermal imaging, 360-degree imaging, drying logs, equipment records, and detailed inspection reports help establish the extent of affected materials and the progress of mitigation. These records are especially valuable when the property requires phased drying, selective demolition, contents handling, or reconstruction.
Apollo Construction & Renovation Corp. uses organized documentation and IICRC-based restoration practices to help property owners and carriers understand the conditions found, the work performed, and the path toward repair.
Create a Room-by-Room Inventory
A room-by-room inventory prevents items from being overlooked once cleanup begins. Start with the largest affected items, then work through smaller belongings, built-in features, and building materials. For each item, note what it is, where it was located, its approximate age, its condition before the loss, and the type of damage observed.
For personal property, include brand, model, serial number, purchase date, and estimated replacement cost when known. Receipts, prior photos, manuals, credit card statements, and warranty records can help support ownership and value. If you do not have every record, do not invent details. Provide the best accurate information available and update the list when supporting records are found.
For building damage, identify materials and affected areas in practical terms. Examples include hardwood flooring in the first-floor hallway, drywall and insulation on the north wall of the basement, kitchen base cabinets, roof shingles along the rear slope, or smoke-affected ceiling finishes in the living room. Measurements, sketches, and contractor estimates can provide further clarity.
If contents must be packed out for cleaning, storage, or reconstruction access, request an inventory that identifies boxes, furniture, electronics, and specialty items. Keep copies of packing lists, chain-of-custody records, cleaning assessments, and return documentation.
Save Every Cost Related to the Loss
Keep receipts for reasonable emergency expenses and property protection measures. This may include emergency plumbing, water extraction, temporary roof protection, dehumidification, debris removal, cleaning supplies, lodging, or other loss-related costs. Whether a particular expense is covered depends on the policy and claim review, but a missing receipt is difficult to support later.
Separate invoices by service type when possible. Mitigation, temporary repairs, contents services, inspections, and reconstruction may occur at different stages. A clear paper trail helps reduce confusion when an adjuster, property manager, or contractor needs to compare work completed with damage conditions.
Do not authorize permanent repairs based solely on a verbal conversation unless you understand the scope, cost, and responsibility for payment. Emergency stabilization is often necessary, while full reconstruction may need coordination with the insurer, adjuster, lender, HOA, or property owner. The right sequence depends on the loss, the policy, and whether hidden conditions are still being evaluated.
Keep Communication Clear and Timely
Report the loss to your insurer as soon as practical and provide requested information accurately. Share photos, estimates, inventories, and mitigation records in an organized format rather than sending scattered files across multiple messages. Ask for confirmation when submitting major documents.
Keep claim communications factual and professional. If the cause of loss is uncertain, say so. A plumber, roofer, restoration contractor, or qualified inspector may be able to identify physical conditions that help clarify the source, but coverage determinations belong to the insurer under the policy.
It is also wise to ask questions before materials are removed or work is scheduled: Has the inspection occurred? Are additional photos needed? What documentation does the carrier want from the contractor? Is there a preferred format for estimates and invoices? Clear answers can prevent unnecessary delays.
Common Documentation Mistakes to Avoid
The most frequent problem is waiting too long. Water stains can dry, debris can be removed, and damaged belongings can be discarded before anyone has a complete record. Document promptly, but do not put yourself at risk to do it.
Another mistake is photographing only the obvious damage. A single ceiling stain may be connected to wet insulation, flooring, wall cavities, or contents below. Take wide shots that show the surrounding area, then rely on qualified assessment tools where hidden damage is possible.
Finally, do not rely on memory alone. A dated log, original photos, receipts, and professional reports are more dependable than a reconstruction of events after weeks of mitigation and repair activity.
A well-organized claim file will not eliminate the stress of a property loss, but it gives every party a clearer starting point. Protect the property, preserve the evidence, and bring in qualified restoration support early when damage is active, widespread, or difficult to evaluate.
Every property and insurance policy is different. Contact Apollo to discuss the work your property may need; your insurer determines coverage.