
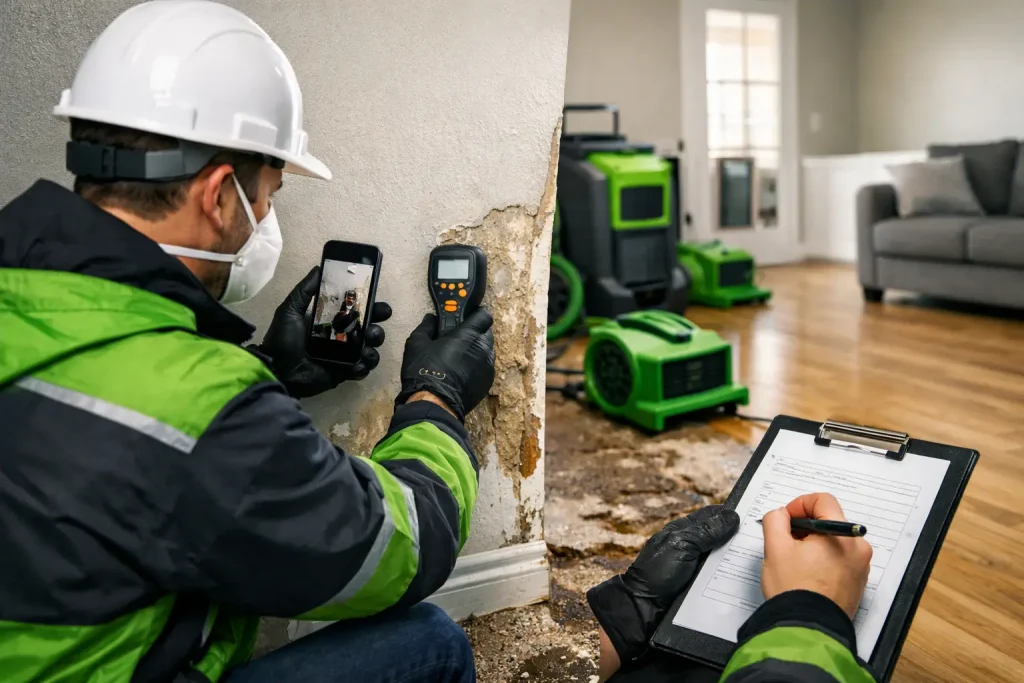
The first hour after a loss can shape the entire recovery process. If you are figuring out how to document property damage after a leak, storm, fire, or other sudden event, the goal is simple – create a clear, organized record before conditions change, cleanup begins, or damaged materials are removed.
Good documentation does two jobs at once. It helps support the insurance claim, and it gives your restoration team a reliable starting point for mitigation and repair. When damage is recorded thoroughly from the beginning, there is less room for confusion about what happened, how far it spread, and what needs to be addressed.
Why documenting damage early matters
Property damage rarely stays the same for long. Water migrates behind baseboards and under flooring. Smoke residue settles into porous materials. A roof leak that looks minor from the room below may involve wet insulation, damaged decking, or hidden mold growth above the ceiling.
That is why early documentation matters. Photos and notes taken right away help capture the condition of the property before emergency drying, demolition, board-up work, or temporary repairs begin. They also help establish the timeline of the loss, which can be important when adjusters, managers, or multiple decision-makers are involved.
There is also a practical side. During a stressful event, memory is unreliable. People forget where the damage started, what rooms were affected first, or which contents were moved. A documented record gives everyone the same point of reference.
How to document property damage step by step
Start with safety. If there is standing water near electrical systems, structural instability, active fire damage, or suspected contamination, do not enter the area until it is safe to do so. Documentation matters, but safety comes first.
Once the area is safe, begin with wide overview photos. Stand in each affected room and capture the full space from multiple corners. Do not start with close-ups only. Wide images show location, layout, and the relationship between damaged areas. That context is often just as important as the damage itself.
Next, take medium-range and close-up photos of specific issues. Focus on water lines, warped flooring, ceiling stains, charred materials, broken windows, roof openings, damaged siding, wet drywall, and affected contents. If the damage has a clear source, such as a burst supply line or storm-created opening, photograph that too.
Video can help, especially when the damage spans several rooms or includes active conditions such as dripping water, visible moisture, or debris throughout a commercial space. Move slowly and narrate what you are seeing in plain terms. Mention the date, time, and location as you record.
As you photograph, make notes room by room. Write down what was damaged, when the loss was discovered, and any immediate actions taken to prevent further damage. For example, note if water was shut off, power was disconnected, or a tarp was installed. These details help create a clean timeline.
What your records should include
The strongest documentation is not just a photo gallery. It is a complete file. That file should include the date and approximate time of the incident, the cause if known, the areas affected, and a list of damaged materials and contents.
For homeowners, that may mean noting damage to flooring, drywall, cabinets, furniture, electronics, clothing, and personal items. For property managers and commercial owners, it may also include common areas, tenant spaces, equipment, inventory, signage, ceiling systems, and building components.
Keep all supporting paperwork in one place. Save emergency service invoices, plumber reports, mitigation logs, temporary repair receipts, and any communication related to the loss. If you speak with the insurance carrier, adjuster, tenant, board member, or maintenance staff, write down the date and what was discussed.
If items are too damaged to keep in place, photograph them before disposal if possible. In some losses, especially water and fire events, materials need to be removed quickly to prevent secondary damage. That is normal. What matters is documenting them before they are discarded.
How to photograph property damage clearly
Photos do not need to be artistic. They need to be useful. Use good lighting when possible, and avoid blurry images or fast movement. If your phone allows it, make sure timestamps are enabled or preserved in the file details.
Take photos from far to near. Start outside the property if exterior damage is involved, then move inward. If a storm caused roof, siding, gutter, or window damage, show the building elevation first, then the damaged section, then the close-up details. That sequence helps tell the story of the loss.
Inside, photograph every affected room, even if the damage seems lighter in some areas. A small stain at the edge of a ceiling may connect to much larger moisture issues above it. If materials are swelling, separating, or staining over time, continue taking updated photos each day until professional mitigation begins.
One mistake people make is cleaning too early. Wiping surfaces, moving contents without records, or throwing away soaked materials can make the original condition harder to verify. Reasonable emergency steps are fine, but document first whenever circumstances allow.
Don’t overlook hidden and secondary damage
Visible damage is only part of the picture. In many claims, the most serious issues are the ones property owners cannot fully see on day one. Water can affect subfloors, wall cavities, insulation, and adjacent rooms. Smoke can travel through HVAC systems and settle far beyond the fire source. Storm damage can expose roofing systems while also affecting interior finishes later.
That is where professional documentation becomes especially valuable. Moisture mapping, thermal imaging, inspection notes, and material condition reporting can identify areas that casual photos may miss. For larger or more complex losses, a contractor with insurance restoration experience can help document scope in a way that supports both mitigation decisions and claim clarity.
This is also where it depends on the type of loss. A small visible plumbing leak may be straightforward. A multi-room water intrusion, fire event, or commercial storm loss usually needs a much more structured record.
Common mistakes that weaken a damage record
Most documentation problems come from moving too fast or assuming the damage is obvious. It often is not. A few avoidable mistakes can create confusion later.
The first is taking too few photos. People capture the worst area and skip the surrounding rooms, exterior conditions, or source of loss. The second is failing to keep receipts and service records. The third is making repairs before the condition is documented.
Another issue is poor organization. Hundreds of images in a phone camera roll are not very helpful if they are mixed with unrelated photos and have no notes attached. Create a folder for the loss and sort by date, room, or category. A simple naming system can save time later.
It is also wise to avoid guessing. If you do not know the full cause or extent, say that. Record what you observed, not what you assume. Accurate documentation is more useful than dramatic documentation.
When to bring in a restoration professional
If the damage involves active water intrusion, fire and smoke residue, storm openings, mold concerns, structural impact, or multiple affected areas, bring in a qualified restoration contractor early. Fast response helps limit further damage, but it also improves the quality of documentation before conditions change.
A professional team can record moisture readings, inspect concealed areas, identify safety concerns, and provide detailed job documentation that aligns with industry restoration standards. That level of detail can be especially important for larger homes, commercial buildings, multifamily properties, and insurance-related losses where multiple parties are reviewing the file.
For property owners in Maryland, Northern Virginia, Washington DC, Delaware, and Pennsylvania, Apollo Construction & Renovation Corp. regularly works with clients who need both emergency response and organized damage documentation from the start. That combination can make the next phase of the claim and repair process much more manageable.
How to stay organized after the initial documentation
Once the first round of photos and notes is complete, keep the file active. Add follow-up images if damage spreads, materials are removed, or new affected areas are discovered during inspection. Save every invoice, email, estimate, and report in one place.
If you are managing a commercial property or tenant-occupied building, keep communication records as well. Note who reported the loss, when access was provided, what emergency work was authorized, and whether any operations were interrupted. Clear records protect everyone involved.
The best documentation is not complicated. It is timely, factual, and complete enough to show what happened and what the property needed. When people ask how to document property damage, the real answer is to act early, stay organized, and make sure the record reflects both the obvious damage and the parts that may not be visible yet.
A calm, well-documented start gives the entire recovery process a stronger foundation.
Every property and insurance policy is different. Contact Apollo to discuss the work your property may need; your insurer determines coverage.